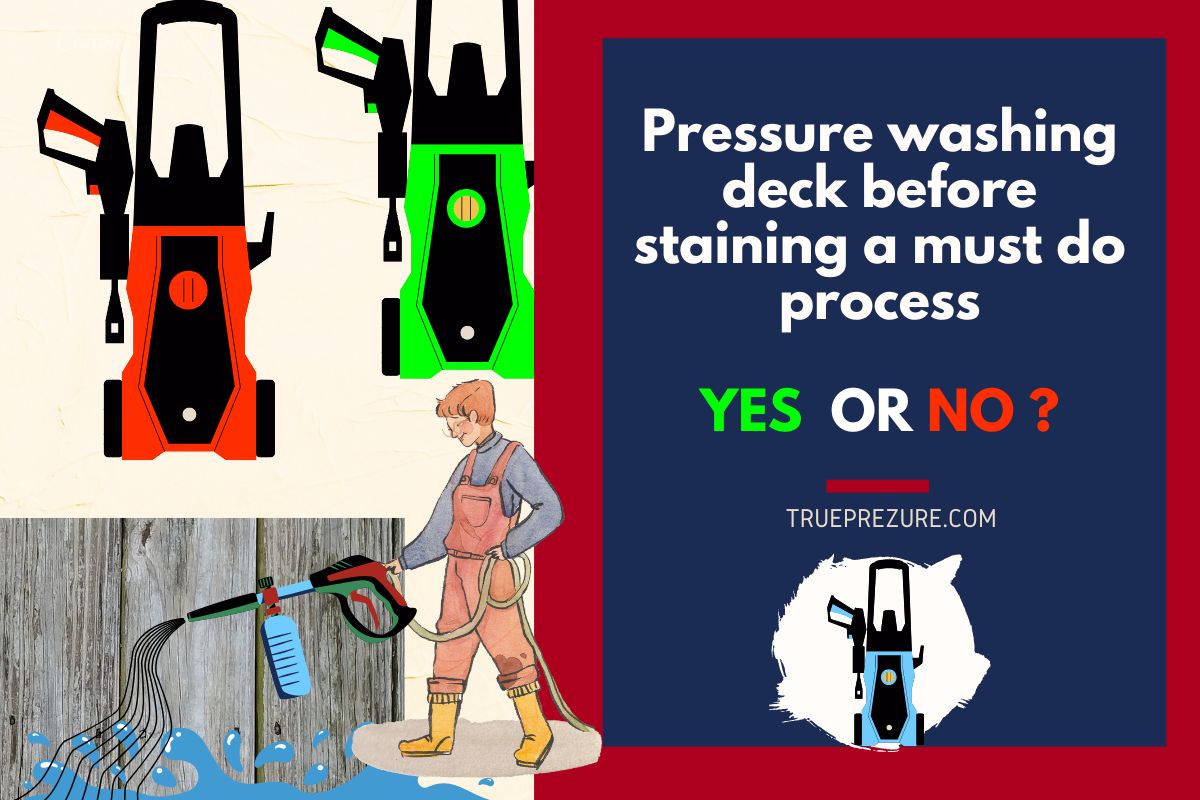
Are you planning to stain your deck anytime soon? now you want to know Pressure washing deck before staining a must do process?
If so, have you considered pressure washing it before applying the stain? Pressure washing is an essential step that many homeowners tend to overlook.
Trust us; you don’t want to skip this crucial process! In this full guide, we’ll explain why pressure washing your deck before staining is a must-do process and how you can do it safely and effectively. Keep reading to learn more!
OUR RECOMMENDED PRODUCT:
Should You Consider Pressure Washing Deck Before Staining?
If you’re wondering if pressure washing your deck before staining is necessary, the answer is yes! Pressure washing helps to remove dirt, grime, stains and other impurities that have accumulated on your deck over time. These impurities can affect the durability of the stain and cause it to peel or fade quickly.
Moreover, pressure washing can reveal hidden damages such as loose boards or nails that might need fixing before applying a new coat of stain. By identifying these issues early on, you could save yourself from more significant repairs in the future.
Additionally, pressure washing creates a clean canvas for staining. The process opens up wood pores and allows better penetration of the stain into the deck’s surface. This results in a smoother finish that lasts longer than when applied without cleaning.
How To Pressure Wash Deck Before Staining
Pressure washing your deck before staining is essential to ensure that the stain adheres properly and looks great for years to come. Here’s a guide on how you can pressure wash your deck like a pro.
First, take safety precautions by wearing protective clothing, goggles, and gloves. Move any furniture or plants off the deck and cover nearby electrical outlets.
Next, prepare the site by removing any debris from the surface of your deck. This includes leaves, twigs, and dirt. Use a broom or leaf blower to remove this debris.
Use cleaners carefully as they can damage surrounding vegetation if not used properly. Choose an appropriate cleaner based on the type of wood and amount of cleaning needed. Apply it with a garden sprayer or mop it onto your deck evenly.
Scrub using a utility brush along with a rotating scrub brush attached to your pressure washer wand in circular motions until all stains are lifted up from the surface of your deck.
Rinse thoroughly using low-pressure water spray starting from highest point down while keeping at least 12 inches away from wood surface so that no damage occurs.
After rinsing well give some time (usually 48 hours) for complete dryness after which sanding process should start using proper grit size according to requirement such as 80-100 grit paper will be best suitable for most decks!
Following these steps will allow you to effectively pressure wash your deck before staining it without causing any damage in just one day!
>Safety Precautions
When pressure washing your deck, safety should always be the top priority. Here are some basic precautions to keep in mind before starting the process.
Firstly, make sure you wear protective gear such as goggles and gloves to avoid any injuries caused by flying debris or chemicals. Also, wear clothes that cover your skin and sturdy shoes with good grip.
Ensure that all electrical outlets and switches near or around the area are covered and protected from water contact. It’s best to turn off circuit breakers for added safety measures.
When working on elevated areas of your deck, use a ladder that is secure and stable. Never lean over too far while operating the pressure washer as it may cause you to lose balance.
Read through the user manual of your pressure washer carefully before using it for better understanding of its functions and handling techniques. By taking these simple yet crucial safety steps, you can successfully complete this task without any harm or accidents!
>Prepare The Site
Before you start pressure washing your deck, it’s important to prepare the site. This means removing any furniture, planters, or other items from the deck surface. You want to have a clear area where you can work without any obstacles in your way.
Next, cover any nearby plants and landscaping with plastic sheeting or tarps. This will protect them from any chemicals or debris that may be kicked up during the cleaning process.
If there are any loose boards or nails on your deck, make sure to address these issues before pressure washing. Loose boards can become even more unstable when exposed to high-pressure water and could cause injury if left unattended.
Take note of any areas that may need special attention during the cleaning process. For example, if there are deep stains or mildew growth in certain spots on your deck, you may need to spend extra time scrubbing those areas with a utility brush before rinsing off with your pressure washer.
By taking these steps to prepare your site beforehand, you’ll be able to safely and efficiently clean your deck without causing damage or harm to yourself or surrounding objects.
>Use Cleaners Carefully
When it comes to pressure washing your deck, using cleaners can help remove stubborn stains and dirt. However, not all cleaners are created equal, and some can cause damage to your deck if used improperly.
Firstly, always read the labels of any cleaning products you plan on using. Certain chemicals may require special handling or dilution before use. Additionally, be sure to wear protective gloves and eyewear when working with strong chemicals.
It’s also important to choose a cleaner that is safe for use on wood surfaces. Avoid using abrasive or acidic cleaners that can strip away the finish or even change the color of your deck.
Once you’ve selected a suitable cleaner, apply it generously over the surface of your deck, paying particular attention to areas with heavy staining or discoloration. Allow the cleaner time to work its magic before rinsing thoroughly with water.
Remember: too much pressure can also cause damage! So don’t try getting every last bit off in one go; take it easy so you don’t end up damaging anything unnecessarily!
By taking extra care when using cleaning products during this process you’ll ensure that any stubborn grime is removed safely without causing harm to your beautiful wooden decking!
Use A Utility Brush And A Rotating Scrub Brush
Using a utility brush and a rotating scrub brush is an essential part of pressure washing your deck before staining it. These brushes are especially useful for getting rid of stubborn dirt, grime, and stains that may have accumulated on the surface over time.
A utility brush is typically used to clean larger areas of the deck, while a rotating scrub brush can be used to remove more stubborn stains and dirt in hard-to-reach areas such as corners or edges. The combination of these two types of brushes ensures that every inch of your deck gets thoroughly cleaned.
When using these brushes, it’s important to apply just enough pressure to get the job done without damaging the wood. A gentle but firm touch will suffice. Always move in one direction with the grain when using both types of brushes.
It’s also recommended that you use these brushes in conjunction with an appropriate cleaner solution for best results. This will help loosen up any ground-in dirt or grime so that it can be easily removed by the brushing action.
>Rinse
After scrubbing your deck thoroughly, it’s time to rinse off any remaining dirt and grime. Begin by using a hose with a high-pressure nozzle attachment to spray down the entire surface of the deck. Make sure you cover all areas, including corners and hard-to-reach spots.
As you’re rinsing, be sure to keep the nozzle at least 12 inches away from the wood to avoid damaging it. Move in slow, deliberate motions across each section of the deck until all soap suds have disappeared.
Once you’ve finished rinsing, inspect your deck for any remaining stubborn stains or debris that may need extra attention. Use a rotating scrub brush or utility brush along with some water pressure to remove these last bits of grime.
Allow your deck ample time to dry completely before moving on to staining or sealing it. This will ensure that moisture doesn’t interfere with the absorption of your chosen finish product.
How To Sanding After Pressure Washing Deck
Once you have finished pressure washing your deck, the next step is sanding. Sanding helps to remove any remaining debris and smoothens out rough spots on the wood. It also opens up the pores of the wood, allowing for better absorption of staining agents.
Do you know which brand is the winner in 2023
Before sanding, allow your deck ample time to dry completely after pressure washing it. This ensures that you don’t damage or scratch the wooden surface during sanding due to wetness.
Start by selecting a suitable grit size in relation to how damaged your deck is. For mildly rough surfaces, start with a 60-grit paper moving gradually upwards until reaching 100-grit as it becomes smoother.
It’s worth noting that while power tools such as belt sanders may seem like an easy way out; they could cause uneven sanding and damage if not used correctly.
Make sure you wear protective gear such as safety goggles and masks when using manual tools like orbital or palm sander for personal protection from dust particles generated during sanding.
After finishing up with hand-sanding, sweep away all loose debris before proceeding into staining preparations since even small bits can interfere with stain penetration giving an uneven finish.
How long after pressure washing a wood deck can you stain it?
After pressure washing your deck, it’s important to know how long you should wait before applying a fresh coat of stain. The answer depends on several factors, including the climate and weather conditions in your area.
In general, most experts recommend waiting at least 24-48 hours after pressure washing your deck before staining it. This allows enough time for the wood to dry completely and for any residual moisture to evaporate.
However, if you live in an area with high humidity or damp conditions, you may need to wait longer before staining. It’s essential that the wood be completely dry before applying any stain or sealer because otherwise, the finish won’t adhere properly.
If you’re unsure whether your deck is ready for staining after pressure washing it, try performing a simple water test. Sprinkle a few drops of water onto the surface of the wood – if they bead up and don’t soak in within a few seconds, then your deck is likely still too wet to stain.
Taking the time to allow your deck ample drying time will ensure that your new layer of stain goes on smoothly and lasts for years to come!
Conclusion
Pressure washing your deck before staining is not only a must-do process but also an essential step in ensuring the longevity of your deck. By removing loose paint, dirt, and grime from the surface of your deck with a pressure washer, you can make sure that the stain will adhere properly to the wood and last much longer.
However, it’s important to take safety precautions when using a pressure washer and follow proper techniques for preparing the site, using cleaners carefully, and rinsing thoroughly. Additionally,sanding after pressure washing is necessary as well before applying stain.